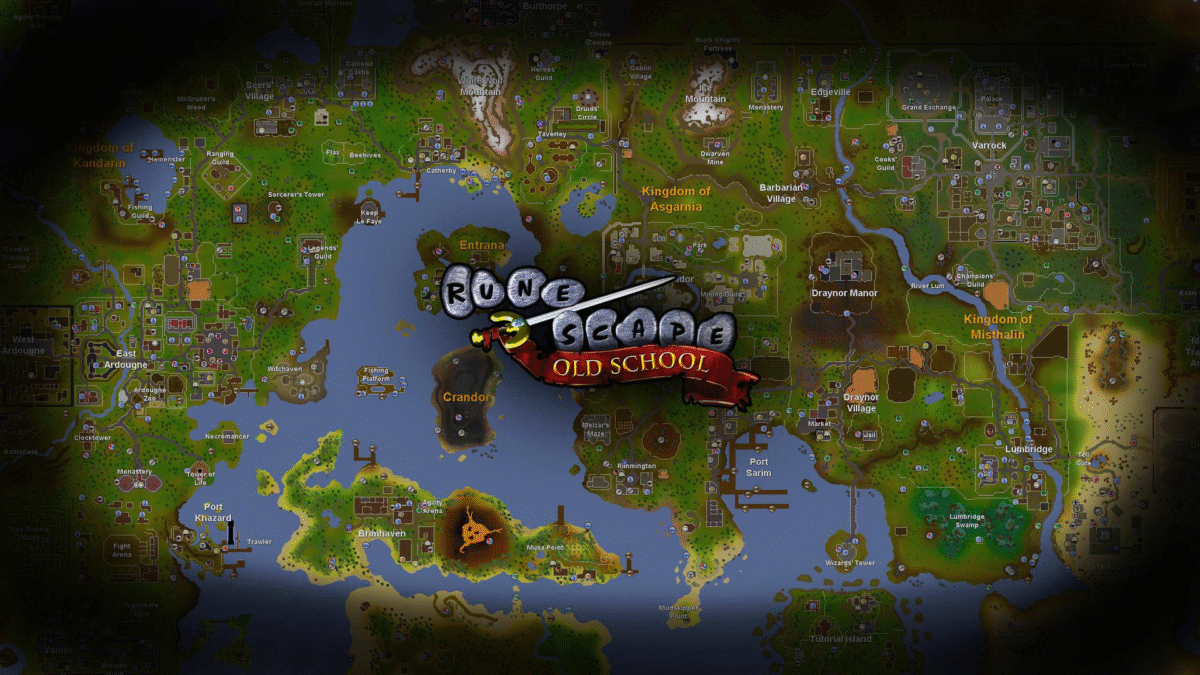

Deadman Mode in Old School RuneScape is a high-risk, high-reward seasonal mode where every decision matters. By Step 7 of your progression route, you should be shifting from early-game stabilization into mid-game dominance. This stage focuses on stacking Annihilation Points, gaining massive quest XP, and improving mobility – all while minimizing PvP exposure.
If executed correctly, Step 7 can generate over 1,000 cumulative Annihilation Points, boost multiple skills, and significantly strengthen your combat readiness.
Let’s break down the optimal approach.
1. Withdraw Key Quest Items and Survival Gear
Before stepping into the Wilderness, preparation is everything.
Head to your bank and withdraw:
·Iron Axe – For Woodcutting tasks
·Jug of Water – Required for specific quest interactions
·Gold (GP) – For purchases and quest-related fees
·5 Tunas – Reliable emergency food
·Dramen Staff – Required to access Fairy Rings.
·Scrying Orb – For relevant quest steps
·Small Net – Needed for Fishing tasks
·Starter Staff – Basic combat utility
In Deadman Mode, clean inventory management can be the difference between escaping a PKer and losing your progress. Bring only what you need.
Many competitive players maintain steady OSRS gold reserves to quickly re-gear if eliminated. Others strategically buy OSRS items before high-risk steps to avoid mid-route delays. The goal is flexibility – not reckless spending, but smart preparation that prevents momentum loss.
2. Activate Thick Skin Prayer
Once geared, activate Thick Skin Prayer.
This small defensive boost increases survivability in Wilderness encounters. In Deadman Mode, minor defensive advantages compound quickly – especially when tanking damage long enough to teleport out.
Preparation wins fights before they even start. Skipping small defensive measures is often the difference between survival and respawn.
3. Visit the Edgeville Pet Shop
Head to the Pet Shop in Edgeville and check your pet count.
Reward: 15 Annihilation Points
This is a quick, low-risk task that takes almost no time. Efficient routing means stacking small objectives whenever possible.
Deadman’s success isn’t about flashy plays – it’s about stacking consistent micro-advantages.
4. Pray at the Nearby Altar
Restore your Prayer at a nearby altar.
Reward: 15 Annihilation Points
Prayer management is essential in Wilderness zones. Combining restoration with task completion keeps your resources optimized.
Always combine actions when possible. Efficiency compounds over time.
5. Use the Wilderness Lever (Teleport Task)
Use the Wilderness Lever to teleport and return.
Reward: 30 Annihilation Points
This counts as two separate tasks and provides quick repositioning.
However, lever teleports carry risk. Always scan your surroundings before activating it. Smart awareness prevents unnecessary deaths – and in Deadman Mode, one death can cost significant OSRS gold and gear.
6. Head South to the Monastery
After finishing Wilderness tasks, move south toward the Monastery. This marks your transition from high-risk travel to controlled questing.
This pivot is intentional. You’re shifting from mobility and task stacking into high-value XP rewards.
7. Complete Fight Arena Quest (Massive Attack XP)
The Fight Arena Quest is one of the most important milestones in Step.
Reward: 265 Annihilation Points + Massive Attack XP
This quest provides one of the largest early-game Attack XP boosts available. A higher Attack level dramatically improves:
·PvP survivability
·PvM efficiency
·Weapon accuracy
·Overall intimidation factor
In Deadman Mode, combat level spikes create power gaps. Completing Fight Arena early gives you a measurable advantage.
8. Chop a Tree Northeast
While traveling northeast, chop a nearby tree.
This contributes to Woodcutting progression and supports your upcoming Firemaking grind. Efficient players never skip XP opportunities that align naturally with their route.
9. Complete Monk’s Friend Quest
Inside the Monastery, complete Monk’s Friend.
Reward: 160 Annihilation Points
This quest is quick, safe, and highly efficient. It continues your momentum without exposing you to unnecessary combat risk.
Stacking low-risk quest completions is key to maintaining steady progression.
10. Cut Trees and Burn Logs (30 Firemaking)
Chop nearby trees and burn logs until you reach Level 30 Firemaking.
Reward: 180 Annihilation Points
Level 30 Firemaking unlocks additional content and improves overall utility. The grind is short but impactful.
In Deadman Mode, versatility matters. Firemaking supports Cooking, survival tactics, and task completion.
11–12. Use Fairy Rings with Dramen Staff
Equip your Dramen Staff and access the Fairy Ring network.
Use the following codes:
·BIS
·AIR
·DIS
·ALS
·CIR
Reward: 180 Annihilation Points
Then use the Fairy Ring again to travel to BLR.
Fairy Rings drastically improve mobility across Gielinor. In Deadman Mode, mobility equals safety. The faster you move, the harder you are to track.
Travel efficiency reduces ambush risk and increases farming speed for both XP and OSRS gold generation.
13. Complete Sea Slug Quest (Fishing XP Boost)
Head south and complete Sea Slug.
Reward: 225 Annihilation Points (Fishing XP)
This quest provides a major Fishing XP boost, unlocking better food options and long-term sustainability.
Better food means stronger survivability in PvP and PvM scenarios. Stronger survivability means fewer rebuilds.
14. Catch One Fish (Medium Task)
Return to the fishing platform and catch one fish.
Reward: 25 Annihilation Points
It’s a small task – but small tasks add up. Never leave easy points behind.
Total Gains from Step 7
If completed efficiently, Step 7 delivers:
·Massive Attack XP spike
·Level 30 Firemaking
·Significant Fishing XP
·Over 1,000 cumulative Annihilation Points
·Full Fairy Ring network access
·Stronger mid-game combat readiness
This is where progression accelerates.
Why Step 7 Is a Turning Point
Step 7 transitions you from stabilisation into momentum. Your combat stats rise sharply. Your mobility expands. Your skilling foundation strengthens.
At this stage, many players begin upgrading gear more aggressively. Maintaining adequate OSRS gold ensures you can recover quickly from PvP setbacks. Some players choose to buy OSRS items strategically to secure key upgrades before entering higher-risk brackets.
The key principle is simple:
Preparation beats reaction.
Players who plan their gear, route efficiently, and maintain financial stability snowball ahead. Those who hesitate fall behind.
Final Thoughts: Strength Before Chaos
Deadman Mode rewards disciplined routing and calculated risk. Step 7 combines Wilderness tasks, high-XP quests, skilling boosts, and transportation unlocks into one of the most powerful progression spikes in the early game.
Execute it cleanly. Stay alert in the Wilderness. Keep your inventory lean. Maintain healthy OSRS gold reserves.
With boosted combat stats, improved mobility, and stacked Annihilation Points, you’ll be positioned to dominate the next phase of Deadman Mode – while others are still scrambling to catch up.
In Deadman Mode, calculated progress wins.